


I am on the internet in my pyjamas.... life will never be the same again...
Well not really, but this modelling thing is not getting any less awkward!
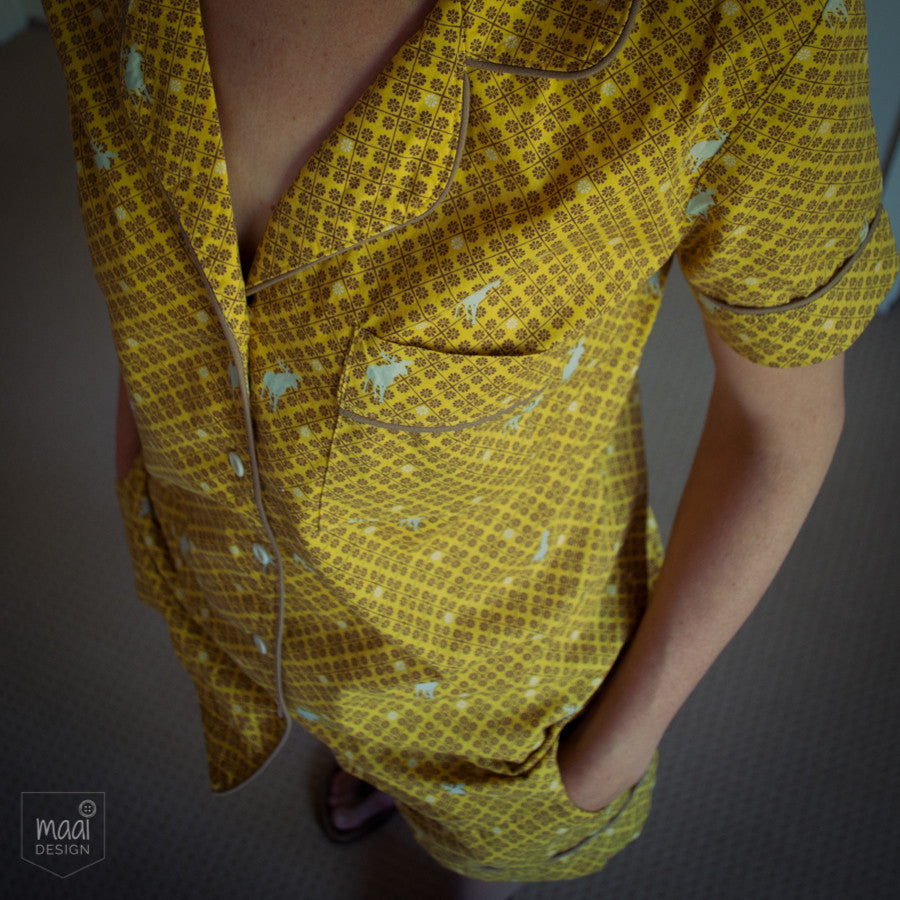
I finished these pyjamas about 2 months ago and finally managed to convince my husband -the reluctant photographer- to take pictures of me, the reluctant model. I don't have an Instagram husband you see (check out the video, it is seriously funny).
Now I will blame the sewing community on Instagram for this one.
I never thought I would make myself a pair of pyjamas, but I was inspired by a few seamstresses showing off their fancy sleepwear. (It was all very civilised in case you were wondering.)
I decided my sleepwear could do with an upgrade too, time to get rid of the old daggy T-shirts.
So I bought the Carolyn Pajamas Pattern from Closet Case Patterns, picked a nice soft cotton fabric from Soft Cactus, and some matching piping.
I was inspired by this blog post from Hey June, and Natalie from the blog Sewoutnumbered made this pair for winter. If you live in Perth, she is planning a sewing course on where you can learn to sew your own pair, the details are on her website.
My biggest challenge was the sizing.
Looking at the size chart, my shirt would be somewhere between a US size 4 and 6, while the shorts would have to be between an 8 and a 10! Wow, a difference of two sizes! I know I'm pear shaped but two sizes... hmmm. I decided to trust the numbers and made a size 6 for the shirt, and a 10 for the shorts.

The pyjamas are designed for an "average" height of 5'-6'', which is about 168cm. I am 10cm taller than that, and the instructions suggest that I should lengthen the pattern pieces "based on past experience".
That wasn't very helpful... More head scratching as this was actually the first time I was making myself a pair of shorts. I do always lengthen my bodice patterns by 4cm, but for the shorts I wasn't sure if I needed to add extra length above the crotch or just at the hem. Then I remembered something I had learned while studying some pattern drafting. Apparently, the distance between the waistline and the hipline is 21cm for most people. I checked this distance on me and it was exactly 21cm. So I decided to only add length at the bottom of the shorts, I added 2cm.
So how was the fit in the end? Pretty good! The shirt fits beautifully, quite snug, just like a made to measure piece should feel like... however in saying that, since the shirt is quite long (which I love), it does sit slightly too snug around the hips, making the shirt ride up a bit when I move. The shorts fit really well, the waist is gathered with an elastic so that was always going to fit. The shorts do flare out a little bit, so I think I would have been ok if I had made a size 8. I also would have preferred them slightly longer.
So if I were to make them again, I would make a size 8 overall, again add 4cm in the shirt, but add 4cm at the bottom of the shorts.
The instructions are detailed and easy to follow. The collar was the hardest part to sew, more head scratching happened there but I figured it out in the end. Too bad I only discovered this detailed tutorial afterwards, so I am including the link to that here.
So now I am the proud owner of a very nice pair of pyjamas, that I have already worn a lot. I am already planning a winter version to sew when autumn comes.

