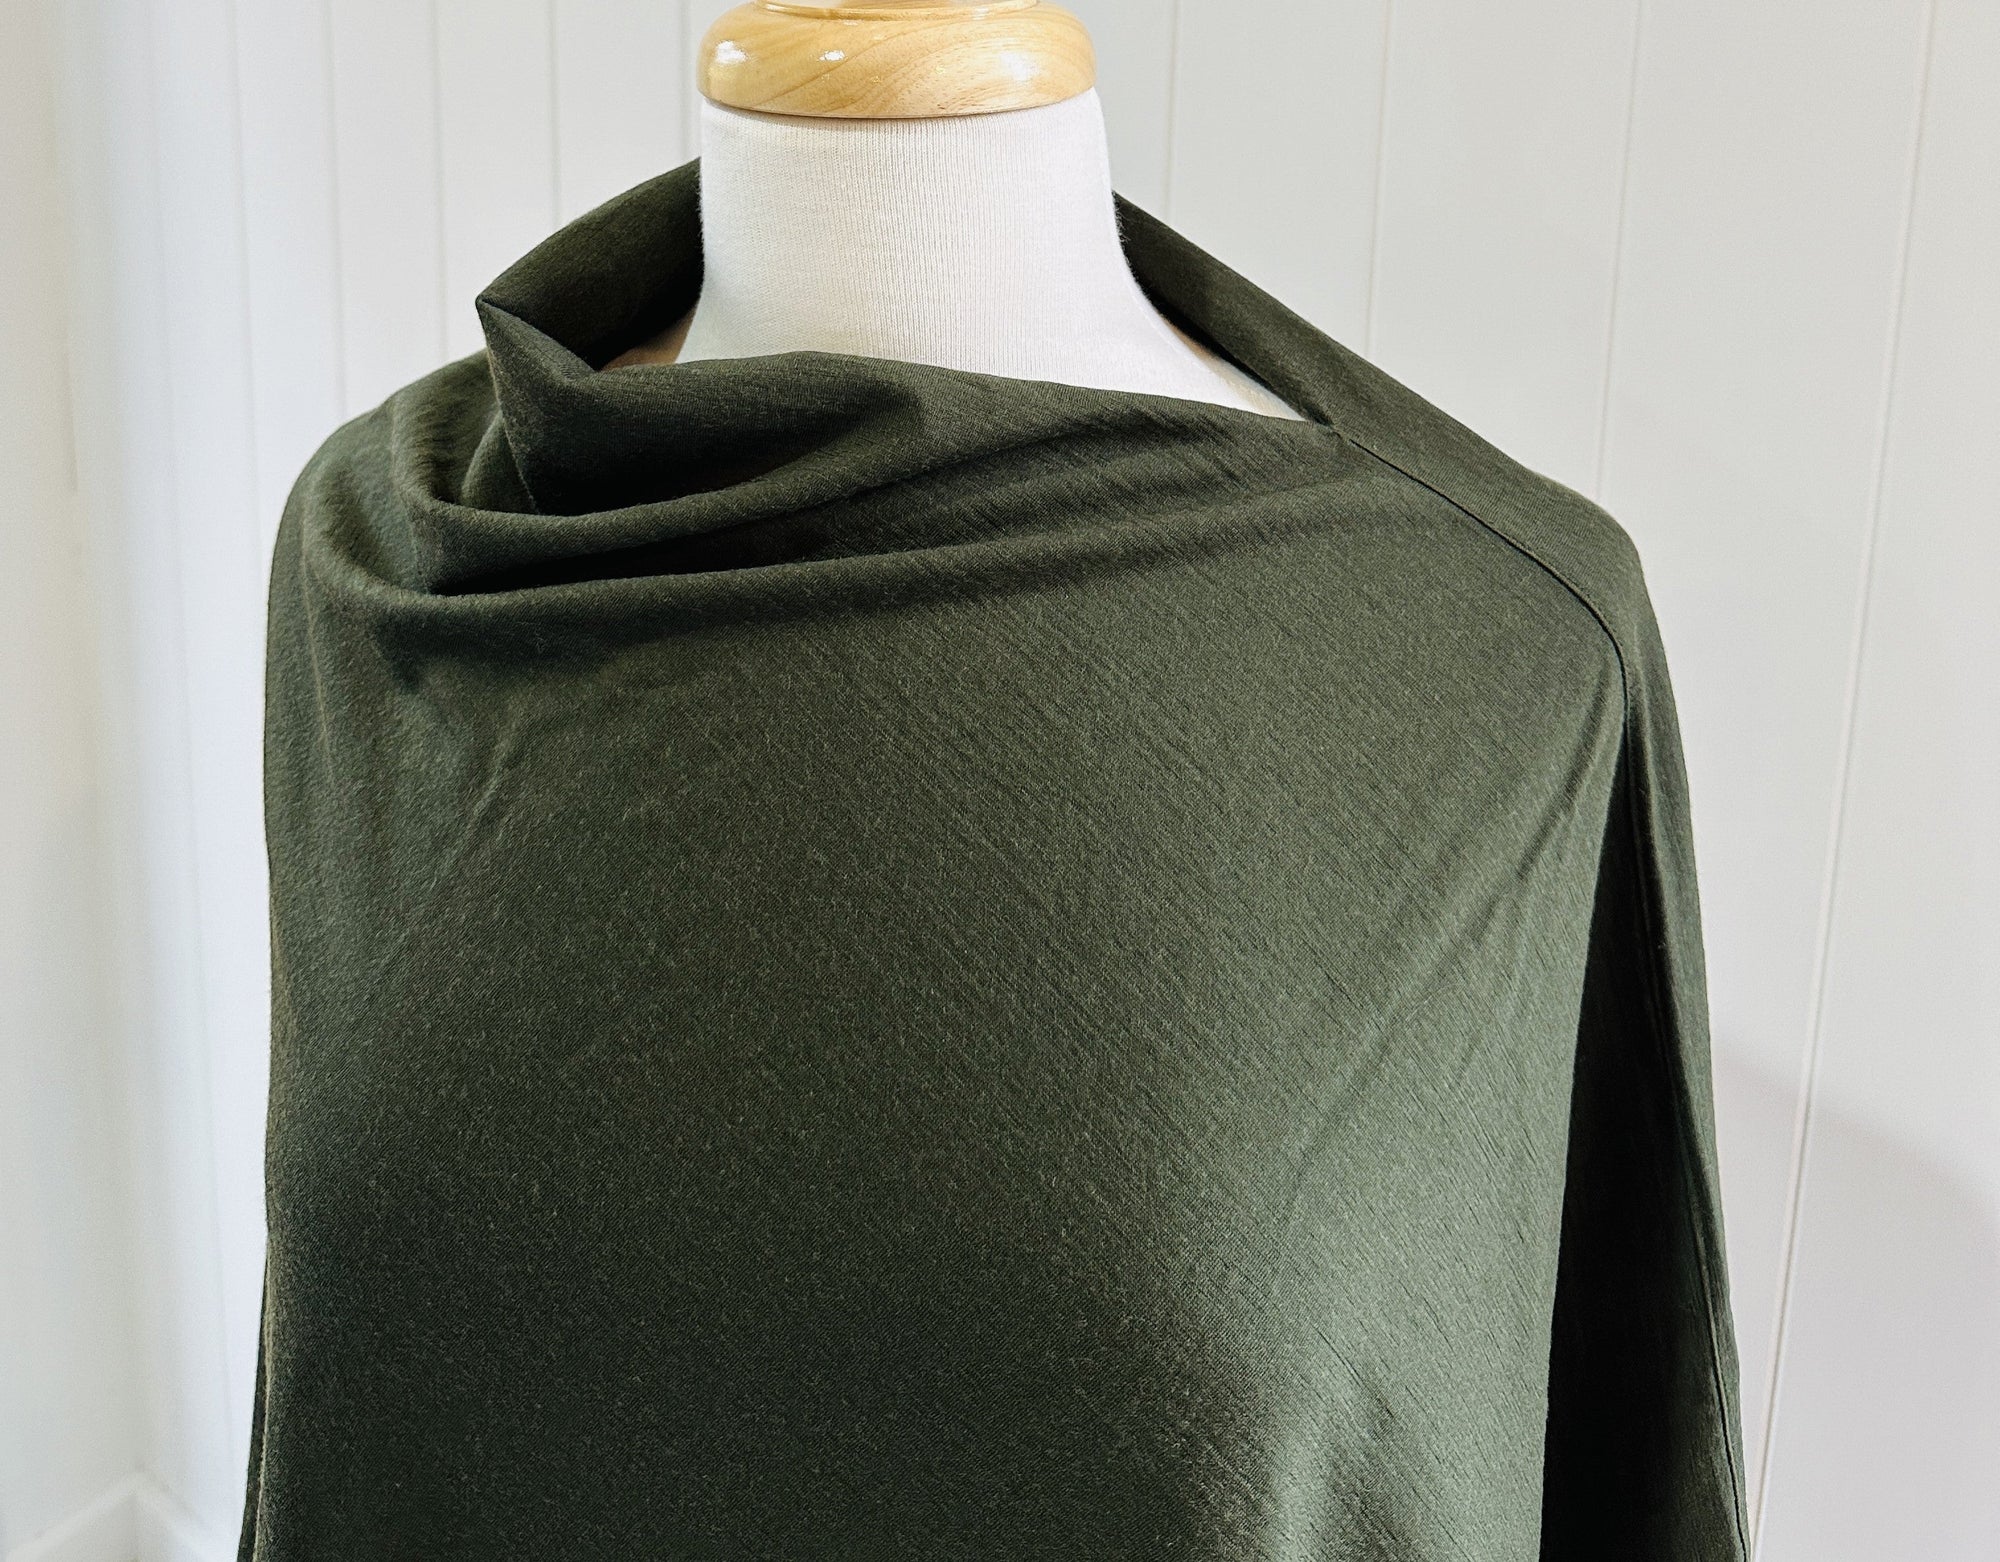
As the weather gets colder, I've been looking for ways to leave the house wrapped (stylishly) in a blanket! At a recent market, Maaike was absolutely taken by the beauty and simplicity of a jersey wool cape that waltzed past the stall. The two ideas have collided in happy synergy—a quick project that will increase your confidence in working with knits and a warm statement wardrobe piece that will have you regularly saying, "Thanks—I made it."

We are making this poncho in 100% Australian merino wool jersey (it is so soft my son kept stroking it on the hanger) in a gorgeous forest green with a beautiful drape. Because it's so light, we will add a wide hem to give the edges some weight and definition.
Let's get started!
You will need:
- 75cm of Australian Merino Wool Jersey which is 150cm wide.
- matching thread - darker is better
- ballpoint/stretch needles
- chalk pencil or block soap (sharpened to a point)
- a glue stick *recommended
- a ruler or measuring tape
- (overlocker/serger optional)

Step 1: Pre-wash your material
Natural fibres contract once wet, and this material has an approximately 3-5% shrinkage factor. Use your wool wash and wool machine setting, then let it dry flat over a clothing rack (or two). If you hang this material vertically while it's drying, the weight of the water may drag the fabric down and stretch it unevenly.
I like to iron the material flat at this point so that cutting is super easy. Mostly, it is just the edges that need to be uncurled. This jersey fabric was a sheer pleasure to iron. *Make sure you iron from the back and use a wool setting to not scorch the fabric (aka. shiny bits)!*
Step 2: 'Square up' your rectangle
The beauty of this pattern is that you simply need a rectangle with a width twice the length of the material. Our jersey is 150cm wide, so we got a piece of 75cm tall. All you need to do is trim and 'square up' your material.
If you need to, straighten (trim) the longest edges. Use the salvage (short) edge as your right angle.
Fold the material in half so that you are now looking at a square.
Then fold your square diagonally in half, matching the bottom tip to top of the fabric. If you are using a cutting mat, check the accuracy of your fold by lining it up with a 45 degree line.

You will most likely have extra fabric to the left of the ruler. Very carefully trim this excess away (see photo above). You should now be looking at a perfect triangle, which will unfold to a perfect square.
*Tip* Hands down the easiest way is to use a rotary cutter, mat and long ruler. I requested an A0 cutting mat for Christmas and it's been in high rotation!
Step 3: Sew the shoulder seam

- Start with your fabric folded in half, right sides together. You should be looking at a square.
- Mark down 25cm from the fold on one side, then pin (or clip) to the edge. If you prefer a deeper cowl or boat neck look, mark 29cm from the folded edge.
- Sew a 1cm seam using a regular straight stitch. (Alternatively use an overlocker for this seam.)
- Sew a bartack at the top of the side seam close to the neck opening. (See photo above.) The bartack will reinforce a stress point and prevent the shoulder seam from popping. If your machine doesn't have this setting, use a very short and close zigzag stitch.

- (Optional) Fold both seams to one side and sew 2mm in from the top seam edge. Trim the excess of the seam *very carefully* with scissors or rotary cutter.
Step 4: Hem the long edges
Because this merino jersey is so light, we will give the poncho a nice deep hem to give it a some weight and stay put. And because we are classy, we are going to mitre the corners, so when the edge inevitably flips up, it will look so professional that you can beam with sewing pride!
When you lay out the poncho you will see that there are two corners and we will mitre both using the same process.
To mitre a corner:
- On the wrong side of the fabric, draw a 45 degree angle across the corner 2cm in from the tip on either side (see photo below).

- Fold the corner in half and sew across your line.

- Trim the excess tip away.

- Open out your mitred corner and press it flat.


Measure and iron a 1cm fold all the way around the edge of the poncho. Use the glue stick to help you keep things in place as you need it, especially to hold down the corners.
*Tip* If you are nervous about sewing knits, the glue baste method is your friend for holding things in place whilst you sew.

Turn the hem (for a double fold finish)
- Measure, baste and iron an additional 2cm fold all the way around the poncho.
- When you get to a corner draw a 45 degree angle across the corner 4cm in from the tip on either side (see photo below).

-
Fold the corner in half and sew across your line.

-
Trim the corner and press the seam open.

- Turn the corner in the right way and press. It should look like this.

- Stitch with a 2mm seam (just inside the edge of the fold) all the way around. Use a straight stitch with slightly longer length (3mm).

Step 5: finish the neck hole
Sew a small zig-zag stitch 2-3mm in from the edge of the slit opening all the way around. It won't be seen because the jersey will naturally roll over, but it will take the stress off the fabric as you pull it over your head.

TA-DA! You've just made yourself a classy poncho!

Celebrate by swanning around in your fancy new number and enjoy the warmth and compliments!
Feel free to do the same with boiled wool - but eliminate the neck hole reinforcing and you can leave the hem raw.


