Interfacing is crucial in many sewing projects as it adds stability and structure to fabrics. But the internet can be less than helpful when it comes to advice on which one to pick for your project and how best to use it. We collected our wisdom and fact-checked it against our Viline rep, Fiona so that you have an enjoyable interfacing experience and a garment that has a polished finish.
Welcome to our Q&A and do’s and don’ts on how to get the best out of your interfacing!
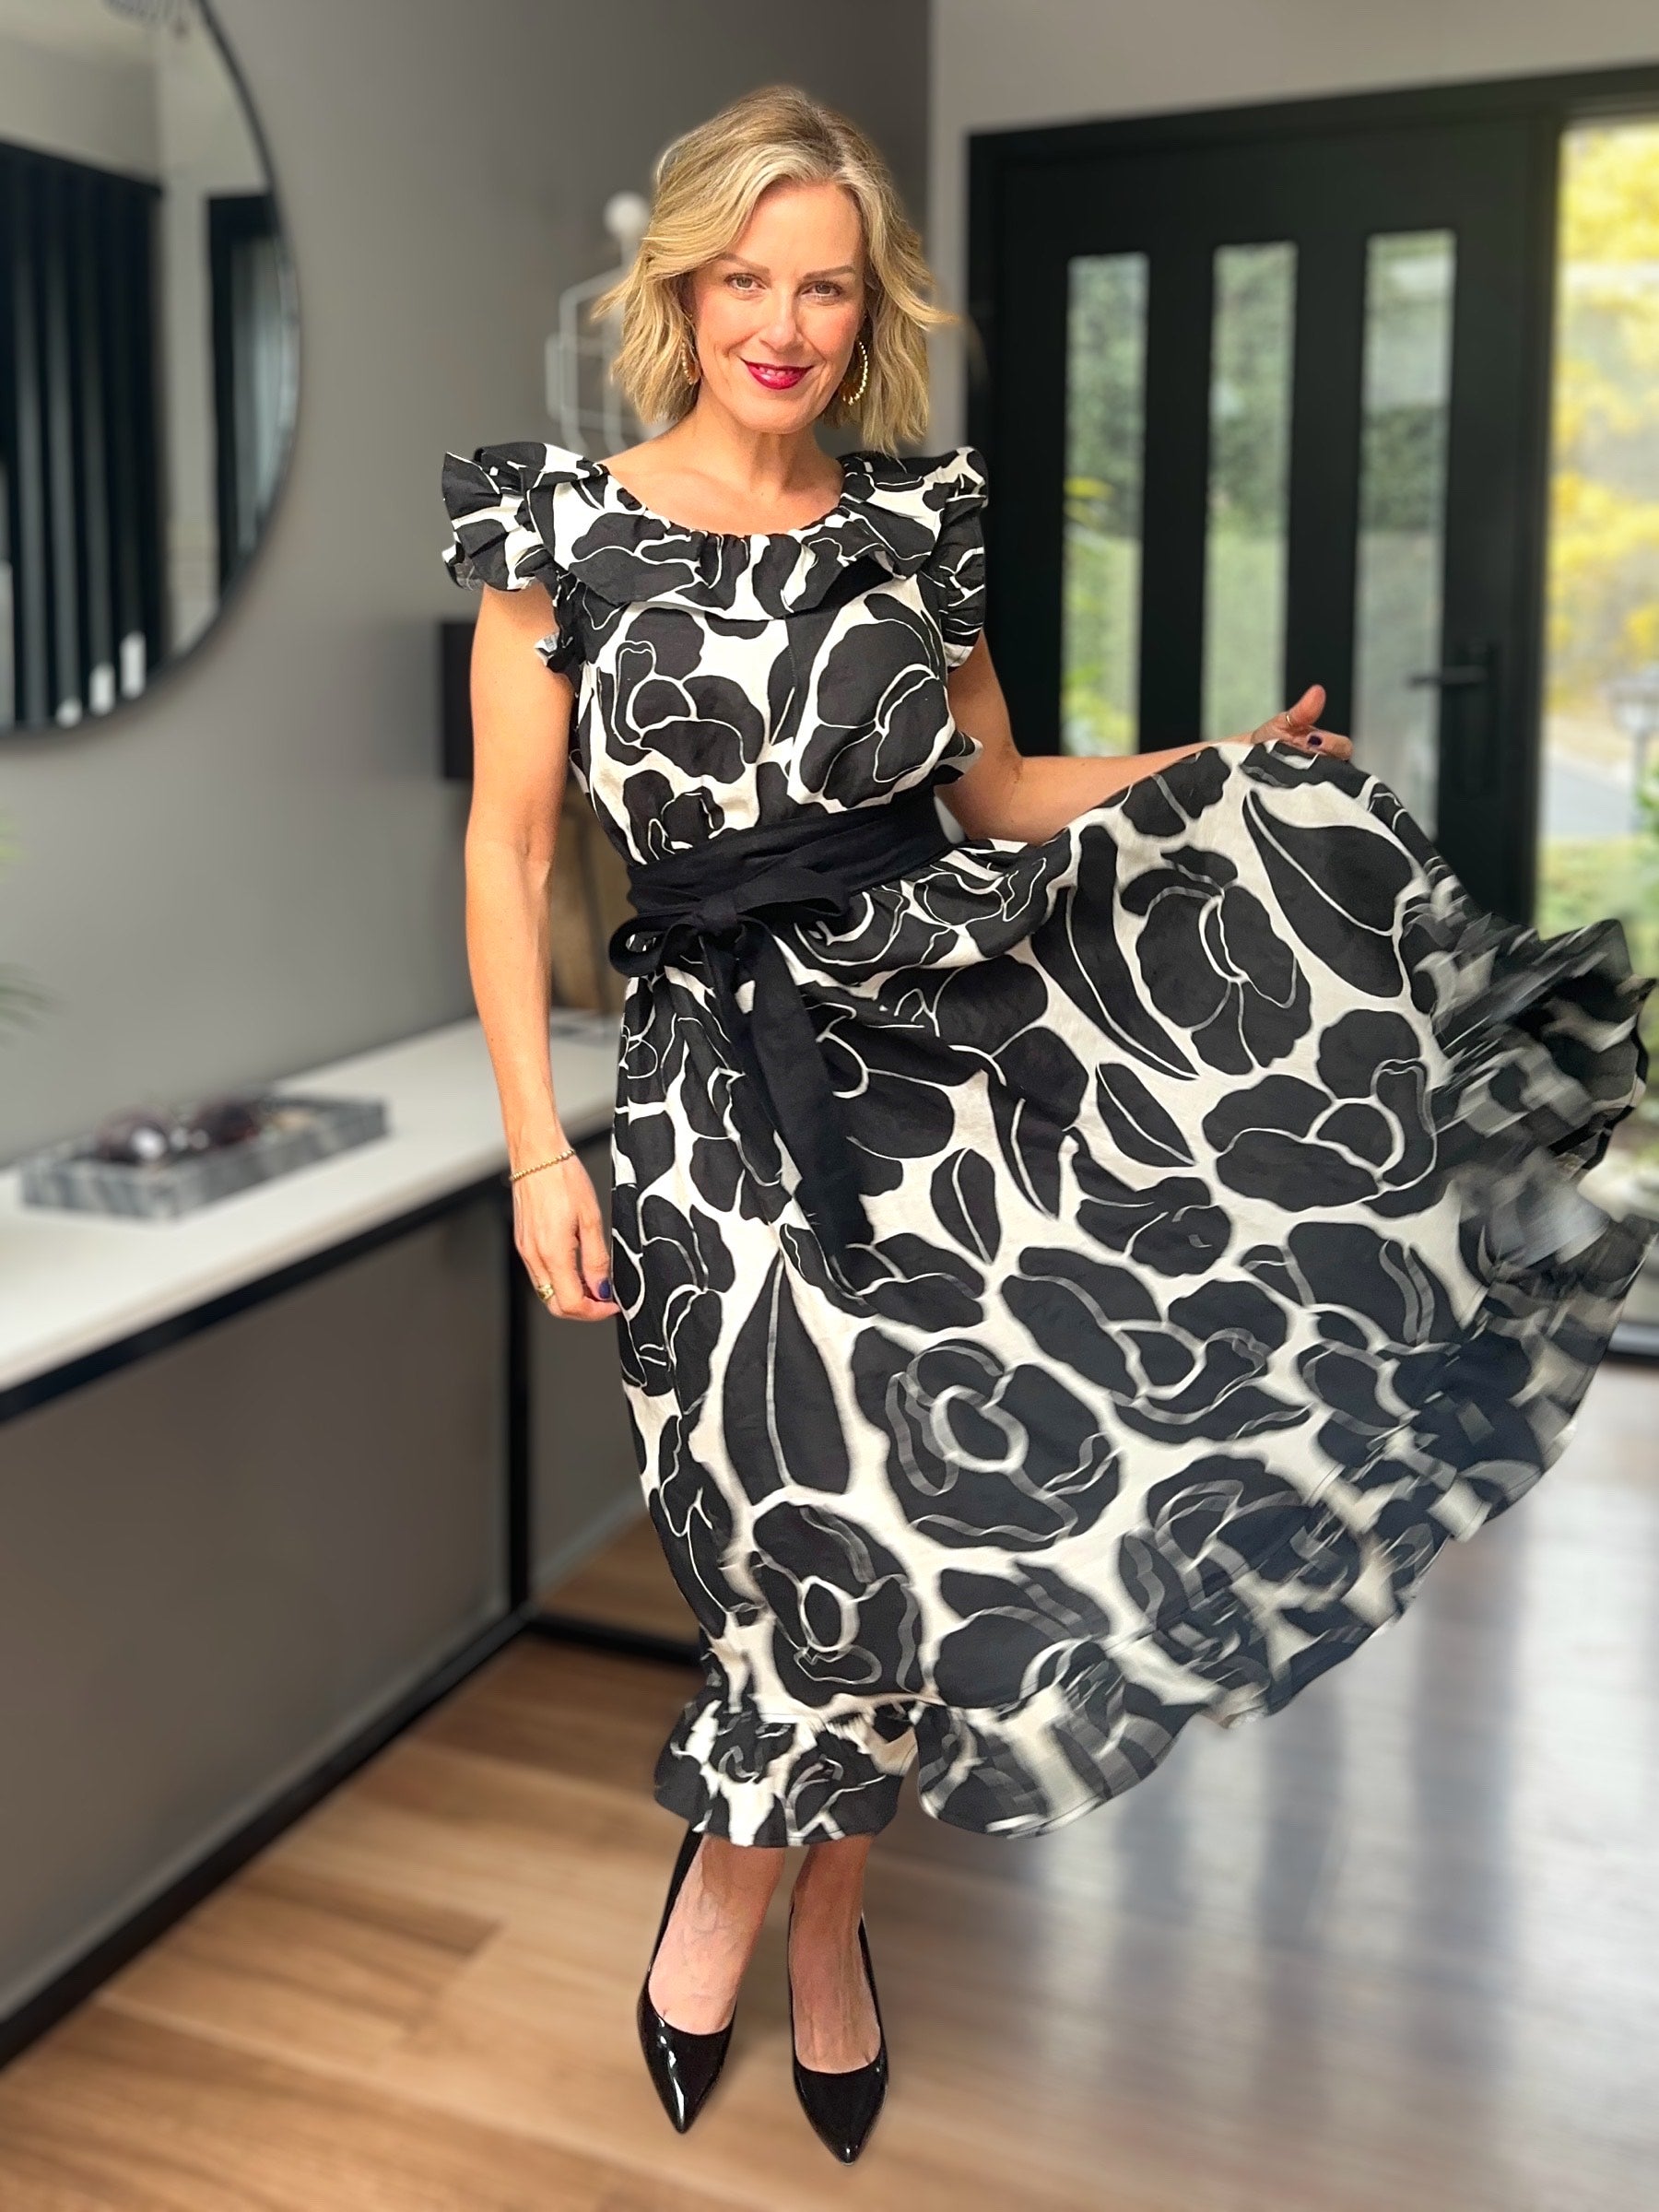
(Image: Heidi Pullover Top by Anna Allen Clothing)
Choosing your interfacing
Can I just use whatever I have on hand?
Only if it matches the type and weight of the main fabric as interfacing is designed to move the same way as the main fabric they are adhering to, so knit with stretch and woven with a grain. They are also designed to match the drape and flow of the fabrics. For example, the H180 is specifically designed to work with the lightness of viscose. If you have the right interfacing for the job in your cupboard - fantastic! If you're not sure, then add it to your cart.
You have two different types of interfacing for wovens. Why would I choose the one with 'stabilising threads'?
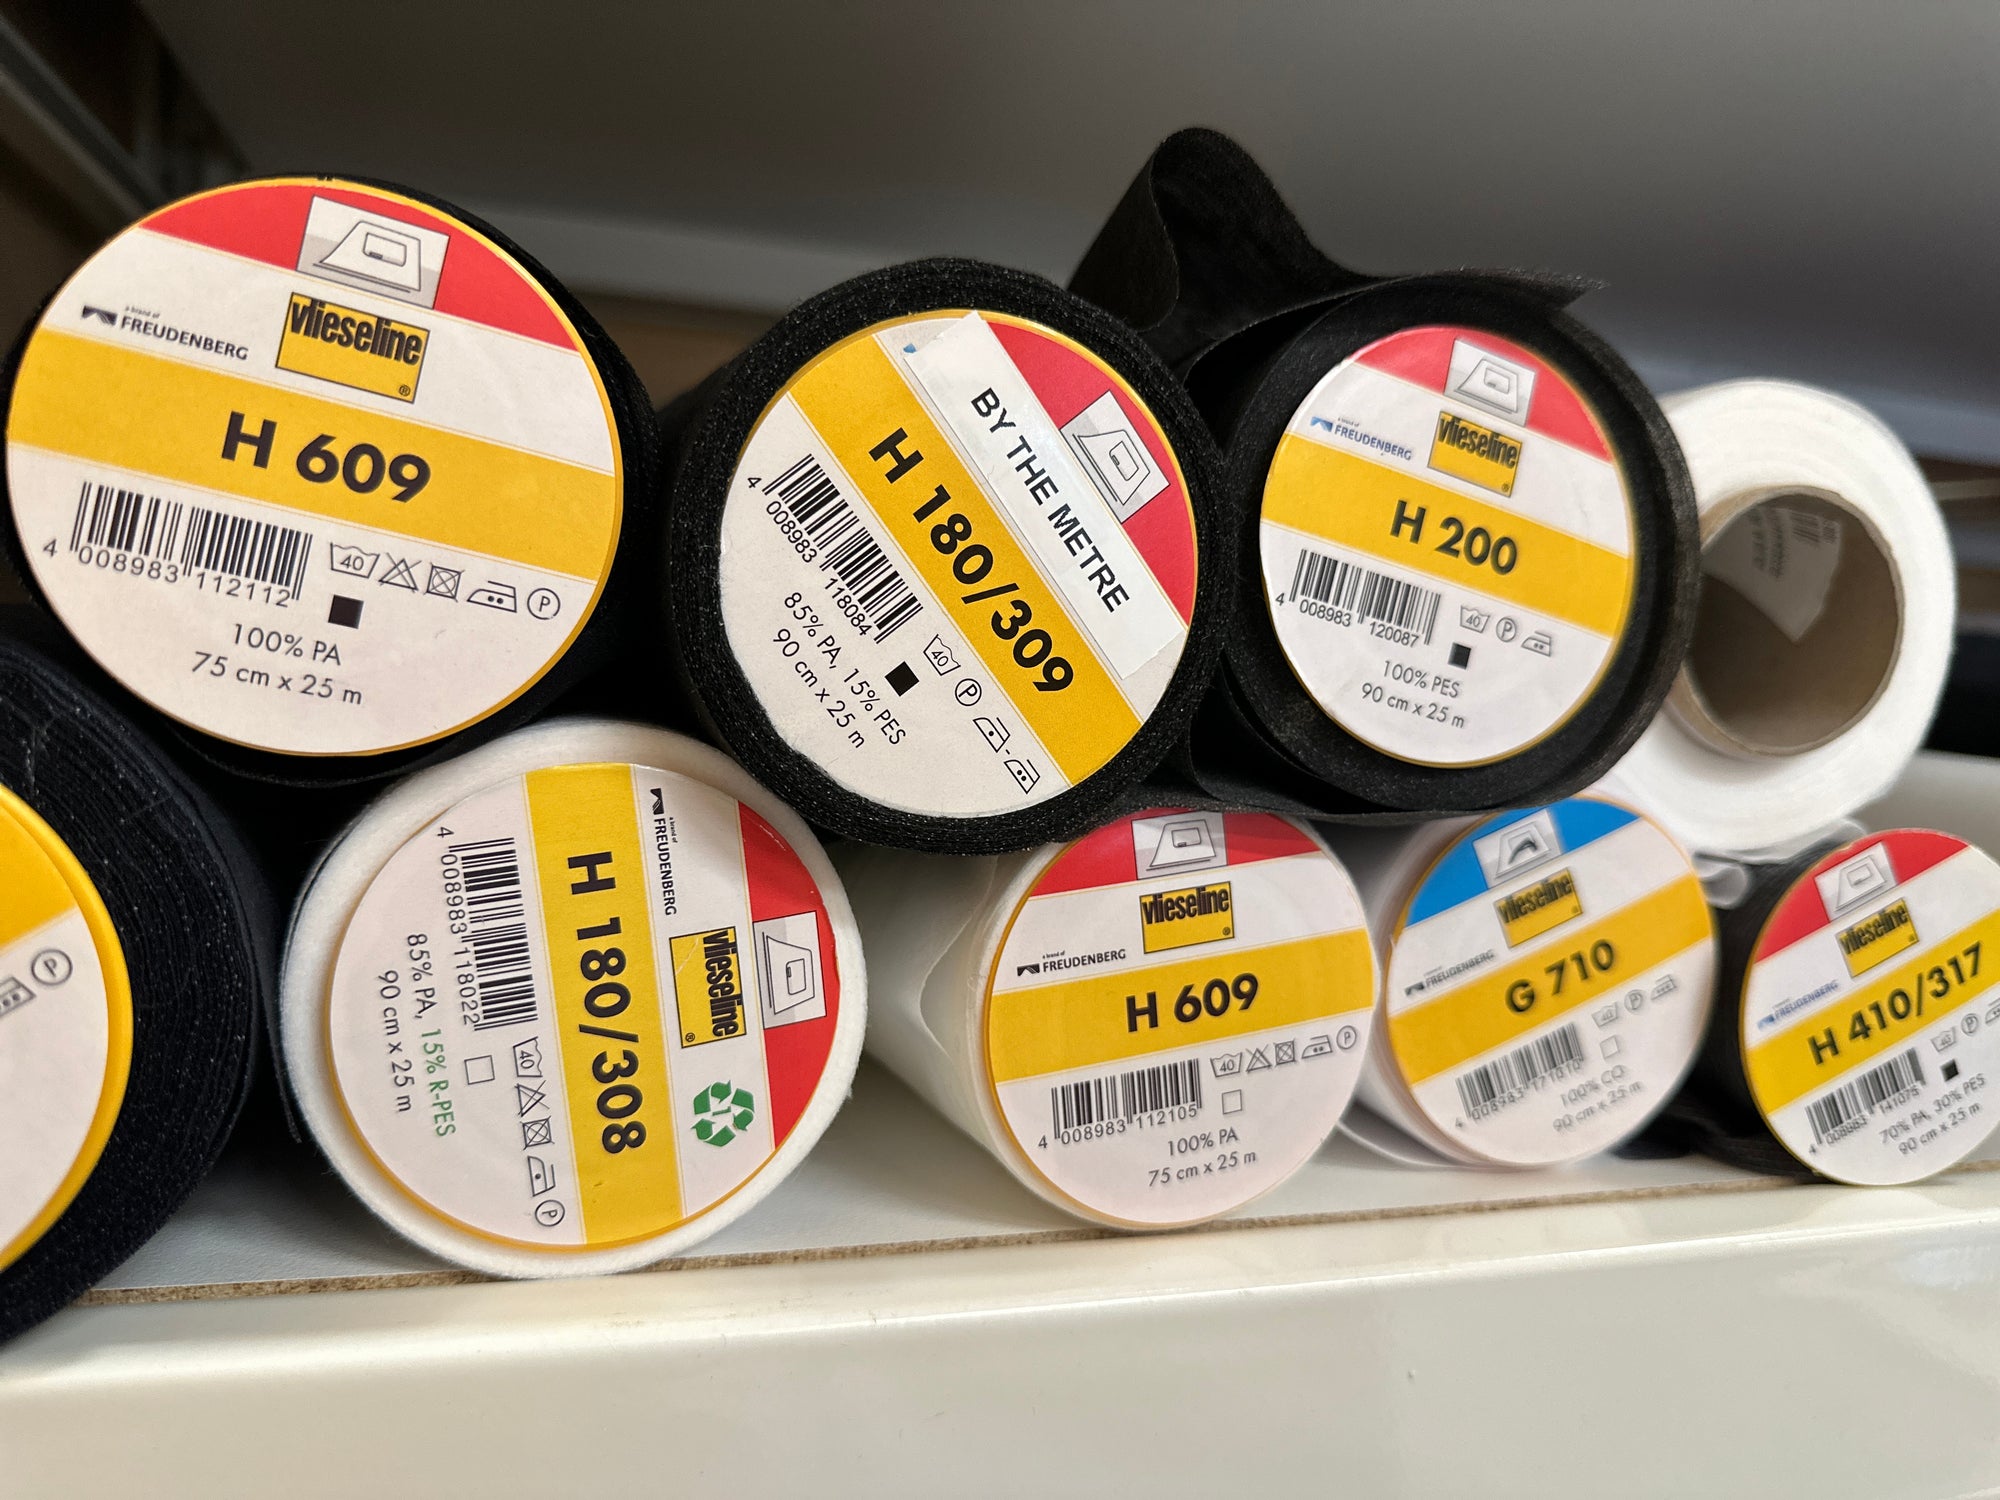
Great question! This has to do with what you are making. For all general dressmaking, use the standard H180, H200, and G710 (especially for cotton or linen).

The interfacing H410 has a stabilising thread running parallel to the grainline, and you would use it in areas that might distort over time with the weight of gravity (plus material), like coat fronts or wide waistbands. If a pattern piece has to maintain its shape and is far away from a stable seam, call in the H410 for reinforcements. For all standard applications, see above.

Is there an alternative to using an iron to apply interfacing?
Most interfacing is iron-on, but that doesn't mean you'll have a bad experience, keep reading this post to redeem your relationship with your iron!
There are sew-in interfacings, but they are for specialty materials where the surface might prevent good contact with the glue, such as bumpy textures, or where the material is too delicate for high heat or pressure.
Using your interfacing
Do I pre-wash it?
No. Unlike your main fabrics, you don't need to wash your interfacing. If it has deep fold creases and needs to be straightened out, give it a cool water bath and hang it up to drip dry.
Does it matter which way I lay out the pattern pieces?
Yes! If the interfacing has a discernable direction - like a grain - cut the pattern pieces following the grain direction arrows. If cutting out knit fabrics, keep the greatest degree of stretch the same as your main pattern pieces.
Even though H180 and H200 (made for woven fabrics) say they are 'non-woven' in their construction, they have grain. Our rep, Fiona, was 100% clear on this! We tested the bolt—there's definitely stretch cross-grain but none on the grain.
So, line up the faint lines going down the interfacing with the arrows for the grainline on the pattern pieces, and then the final garment will move and hold like it was designed to.
Do I cut the fabric pattern piece first or the interfacing piece? Does it matter?
I recommend cutting the interfacing pattern pieces out first and then ironing them directly onto the uncut fabric, lining up the grains (or the greatest degree of stretch).
The reason is that interfacing holds its shape better than most main fabrics. Moving/handling fabric-cut pattern pieces can distort their shape, especially if they have lots of curves. For the greatest accuracy, cut out all of the interfacing pieces and iron them at the same time onto the uncut main fabric. Then, once cool, trim around the fused pieces.
Which side is the 'right' side?
The raised dot side has the glue. You should be able to feel the difference with your fingers. The glue also makes this side a bit shiny. Match the glue-dot side to the wrong side of your main fabric before ironing.

What temperature do I set my iron to?
The weight (and composition of the interfacing) changes the ideal temperature for proper adhesion. The correct temperature is the sweet spot between being hot enough to melt the glue and not so hot that you scorch the interfacing material.
Too cold, and the glue won't become completely tacky, and the piece will separate from the fabric. Too hot, and you could chemically distort the glue so that it no longer bonds or melt/burn the interfacing.
Match your iron setting to the "iron dots" on the product information.

If your interfacing isn't sticking, you need more time for the glue to heat evenly and more pressure, not a higher temperature.
Should I use steam when applying interfacing?
The only product that our rep said that steam is helpful for is the 100% cotton G710. Steam has no chemical advantage for synthetic fibres (and will make it a bit soggy), so check if your chosen interfacing has a synthetic component.
Instead of using steam, use a damp cloth between your iron and the interfacing and not your steam function on your iron. The (chemical) reason for steam is for more efficient heat transfer, but the steam from your iron comes from jet holes that are only in specific locations. To avoid hot and cold patches that won't uniformly melt the glue, turn your iron to no steam and use a damp cloth for an even transfer of heat. But again, only on the 100% cotton varieties.
How long do I press the iron down?
This changes depending on the product, and you may need to come back and do several passes in the same area. The length of time depends on how long it takes for the glue to heat up vs. the fragility of the interfacing material.
- H609 - 8 secs
- G710, H200, H180, H410 - 12 secs
Pressing down is actually crucial to bonding the two fabrics. It provides the best possible contact for the glue.
Do I have to use a pressing cloth?
You don't have to, but I use kitchen-grade baking (greaseproof) paper between my iron and the interfacing for three reasons.
- I can see through it to make sure that the piece is aligned properly before ironing.
- If I stay too long on a certain area or my iron temperature is a bit hot, I don't scorch/shrink my interfacing. The paper goes a bit brown, but my fabrics will be fine. (I then turn it down a bit and wait for my iron to cool a bit.)
- If I have a momentary lapse of concentration and turn my interfacing upside down, I don't make a mess of my iron!
NB: you can't use baking paper if you're applying steam.
Why does my interfaced fabric have BUBBLES!?
A: Assuming that you washed your main fabric before using it, there are two potential reasons:
- You used an iron with lots of holes in the plate and missed going over these areas on your first few passes. The glue has not been activated. Re-do these areas with your iron pressing in a different direction than last time.
- The glue needed to be completely set, but you started sewing too soon. The push and pull of the material through the machine and handling have subtly shifted and dragged areas that weren't fully set. (It used to happen to me all the time!) To avoid this mistake, I now block fuse all of my interfacing pieces one evening and sew with them the next day.
I accidentally ironed the glue side; how do I get the glue off my iron?
We've all been there! When this happens, I swear quietly unplug my iron immediately, and switch to my backup iron. Then, I clean it with Magic: Iron baseplate cleaner. Here are some other tested options for removing the glue from your iron.
Tips for perfect interfacing
Don'ts
Don't 'glide' your iron; rather, press in 'steps'. Lift and move to each section of the interfacing pattern piece. A regular ironing action will drag melted sections, distorting the adhesion.
Don't move the interfacing until it's completely cool. The recommended time is 20-30 minutes before lifting the piece off the ironing board to use it. Better yet, block fuse all of your pieces one evening and leave them overnight before sewing with them.
Remember to re-mark pattern notches and information on the pattern piece that the interfacing might cover up.
Do's
Do maximise the trio of heat, time and pressure. All three are essential for proper adhesion of the glue.
Do use a heat press if you have one rather than an iron. (I have a Cricut Easy Press, and it's fantastic!) Heat presses have more consistent temperatures than irons and deliver more even heat. The holes on your iron plate mean that that area isn't heating up to the same temperature as the fabric around it, and you'll have to redo those areas.
 (Image Patina Blouse by Friday Pattern Company)
Interfacing can really elevate your final project and keep those "No way! You made that?" compliments for years to come.
Happy sewing!
With thanks to our Vilene rep Fiona for answering some very technical questions!


