

Welcoming a new baby into the world is a joyous occasion filled with love and anticipation. As friends and family gather to celebrate this special milestone, there’s often a desire to give a gift that is not only practical but also meaningful and personalised.
Handmade baby presents offer a unique opportunity to express your creativity and affection, and using our beautiful double-sided block print quilted fabrics means it will only take you an afternoon (and a few cups of tea)!

You will need...
- 1m of our Block Print Quilted Cotton - we used 'blossom breeze'
- 25cm of coordinating Block Print Cotton - we used 'shiraz bouquet'
- rotary cutter or scissors
- chalk pen or similar
- coordinating thread
- (optional) overlocker/serger

Step 1: Prepping the main fabric

Square off the edges and then use a round template (kitchen side plates are perfect!) to trace a curve instead of sharp corners.
At this point, I like to zigzag or overlock the edges to make them more manageable for attaching the binding.
Step 2: Prep the binding
Use your favourite method to create approximately 4m of bias binding from the coordinating cotton. Cut your strips to be 2.25" (5.5cm) wide. I use the continuous bias binding method like this one here.

I also leave one edge unpressed to help with a later step - just like this.
All you have to do now is attach the binding!

Step 3: Attaching the binding
Pin your bias binding to the edge of the quilt (right sides facing) but leave a 'tail' and start sewing a little further down. This will give you fabric to play with at the final stage of joining the binding.

Sew the binding to the quilt using the ironed crease as your stitching guide. When you get within 10-15cm of the finish/start, backstitch and take the quilt off the machine.
Lay the binding underneath the starting bias binding, allowing them to overlap with the start on top and fold back a 'seam allowance' on the top piece.

Use a chalk pen or pencil to mark where the seam will meet on the bottom fabric.

Leaving a seam allowance on the other side of the line you just drew, trim off the excess binding, and pin the two pieces together. Carefully fold the main fabric out of the way so that you are just sewing the bias seam.

Press the seam open, and then restart attaching the binding by sewing from the point that you finished earlier all the way down to the point where you first started.

Press the binding away from the body of the main body of fabric all the way around. You can barely see that join!

Flip the main material over to wrap the bias binding over the edge. Notice the seam line where the binding was attached on the other side. Carefully fold the binding so that when you tuck the edge under it is slightly over the old seam line by approximately 2mm.

Iron and pin the edge as you go all the way around. This is the perfect time to include a handmade label or message of love tucked into the seam.

Step 4: Finishing the binding
I like to stitch 'in the ditch' on the first side of the fabric we worked with. (That's the point where the binding and main fabric meet.) I know my stitches will catch the binding on the back because we were careful to give it that little overlap.

If you're a little worried that things might move or that you're not that confident with your skills just yet, start on the 'back' side with the unattached bias, facing side up. Stitch 2mm in from the edge, and make sure that your bobbin thread colour matches the main body of the quilt to hide your stitches.
Here's what the stitching looks like on either side when you sew 'in the ditch' from the front. The neatest side is always the one you had face up at the last pass of the machine.


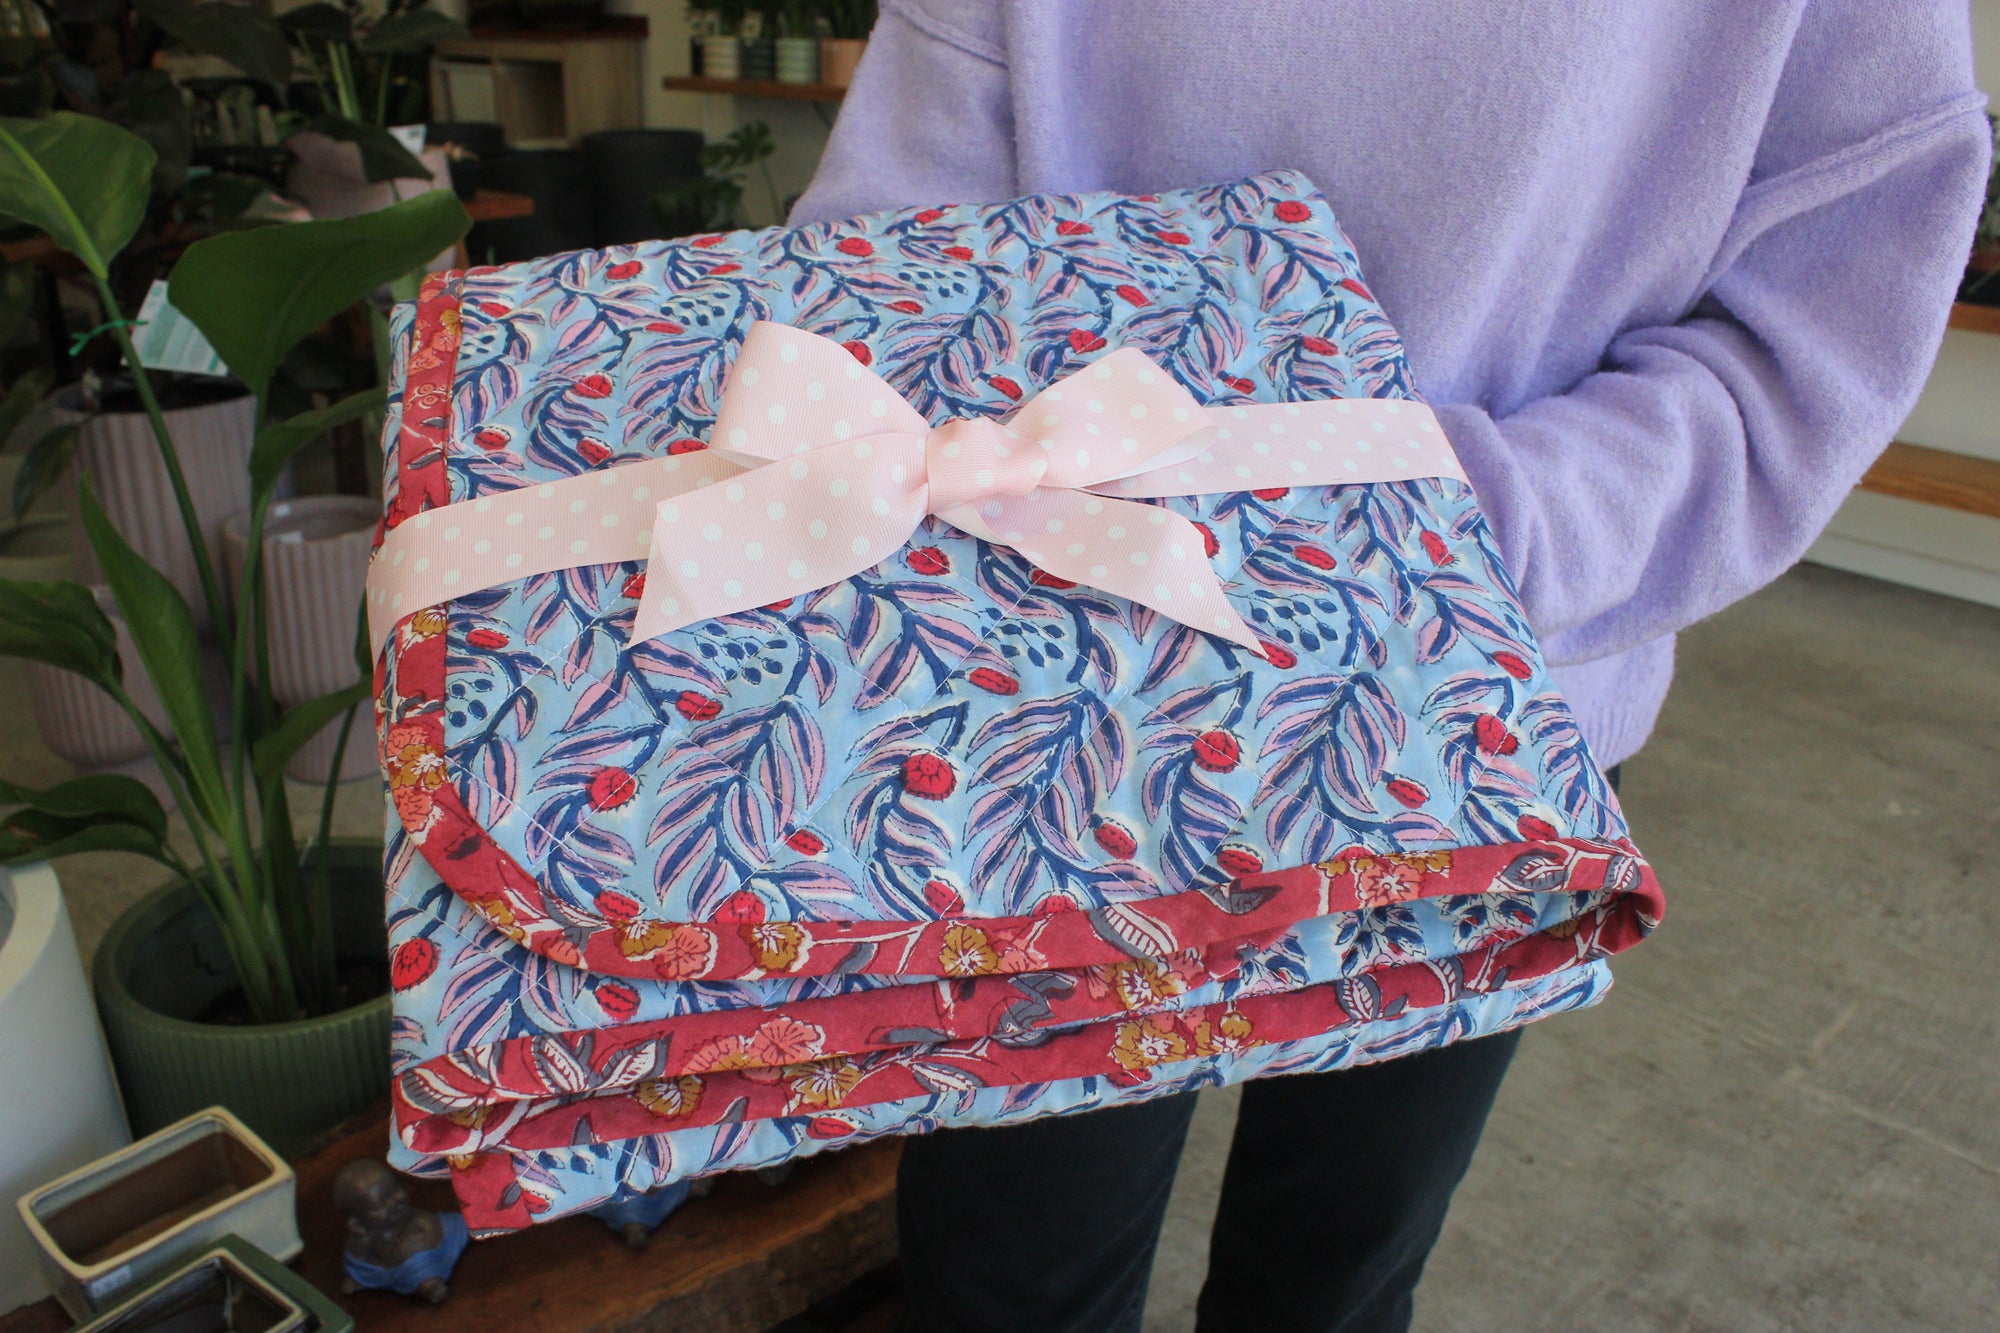
Ta-da! You just made your friend (or self?) a beautiful one-of-a-kind baby gift that’s sure to be treasured for years to come!


