

The temperature is dropping, our tea consumption is increasing and we've started a "sew a jacket" challenge in the Modern Makers Community.
Two of the suggested jacket patterns are quilted jackets.
But if you’ve never quilted before, the process of working with all those layers can be quite daunting.
So Rosey Huff (who has blogged for us before) kindly offered to share her experience here on our blog.
Over to Rosey:
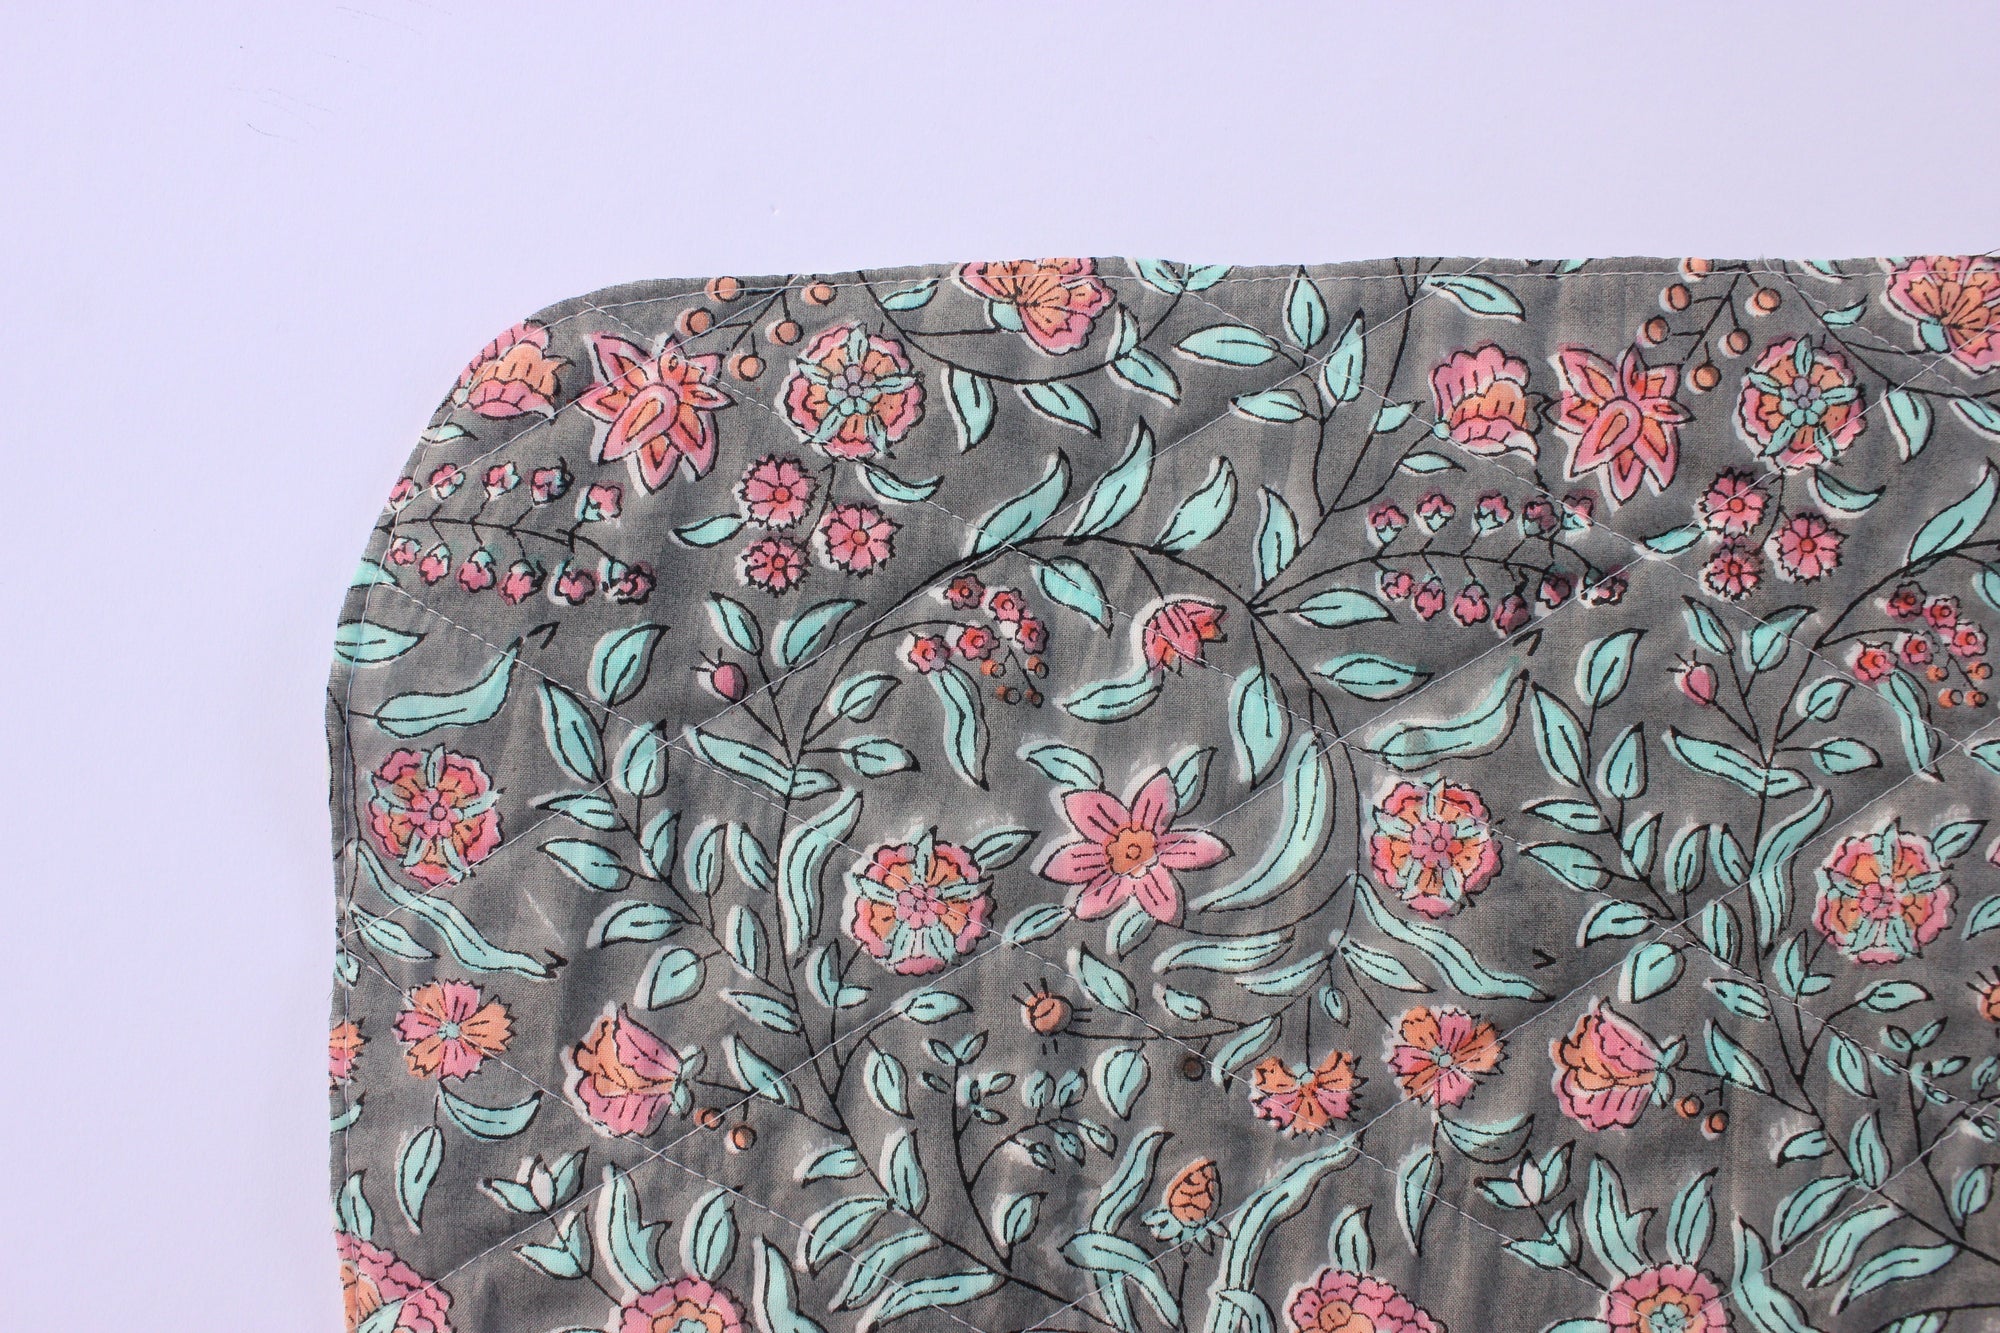
Here are my best quilting tips demonstrated on the wildly popular Sage Quilted Jacket pattern by Elle Stitch and using the stunningly soft block-printed cotton to show off the amazing prints!
Always pre-shrink your fabric by washing it, but especially when quilting because the extra stitching will create bunching and crinkles that won’t iron out. (Also prewash the wadding if it's made from 100% natural fibres as it will shrink)
Then, follow these tips for the best-quilted jacket experience.
Tip #1. Quilt your fabric first before you cut out your pattern pieces
Here’s why. When you quilt 3 layers, the fabric shrinks. Also, your three layers may not line up anymore, wither with each other or the pattern piece – which wastes your fabric and your time. Pre-quilt, cut and then use the excess scraps for a fun patch pocket (or set of cute coasters for Mother’s Day)!

Tip #2. Cut each layer of the ‘quilt sandwich’ larger than the one before it
The wadding should be larger than the top fabric, and the backing slightly larger than the wadding. As you sew the layers will ‘shrink’ at different rates. It’s easier to trim fabric at the end than discover your back fabric doesn’t extend far enough.

Tip #3. Quilt from the middle out
Fabric has a tendency to move. But if you’re sewing from the middle in an outwards direction, you can smooth out areas as you go so that the three layers remain even. (Same rule for basting using safety pins.)

Tip 4#. The closer your quilting lines the stiffer your piece will be.
If you’re starting out then straight lines are a good starting point, but if you put them too close together your jacket will feel like you’re wearing a jacket made of cardboard! The closest I’d go for a quilted garment is 1.5” between lines. Conversely the maximum recommended distance between quilted sections is approximately 6” (15cm).
 Make a quilted test swatch of at least 40cm x 30cm (16”x12”) of similar weight fabrics using your intended design to get an idea of how soft/stable the final jacket will feel.
Tip 5#. Use a ‘walking foot’
Why use a walking foot? Because while the feed dogs (wiggly metal teeth on the throat plate of the sewing machine) push the bottom layer of fabric through, a normal sewing foot just lets the top layer glide along. With two thin layers that's ok, but when you have 3 layers with lots of puffy loft, the difference is huge! The walking foot pushes the top layer through at the same rate as the feed dogs push the bottom layer. That’s really important, especially if your quilting design has intersecting lines that cross over each other.

My newer machine has an inbuilt walking foot (the black wiggly part behind the metal foot) but you can buy walking feet for any machine that needs one fitted. You can see the one I bought for my grandmother’s Bernina on the right.

Tip 6#. Increase your stitch length
I normally sew garments with 2.5mm stitch length, but because the thread has a larger distance to go through all the layers, this makes a normal stitch length look like tiny stitches (and takes way longer to sew). Instead increase the stitch length to somewhere between 3-4mm depending on your preference.
 Alongside these tips it’s handy to have some ‘how to’ instructions…
To make the process more manageable, you’re going to quilt portions of fabric that are just a bit bigger than the pattern piece that you want to cut out.
NB: In case it isn’t obvious, the back fabric also needs to be facing print side away from the wadding
As you quilt, you’ll need to make sure that the fabric is being held temporarily together in multiple places. This process is called ‘basting’, and it can be done in two ways.
Using safety pins:
The rule of thumb is that to maintain integrity, quilting needs to happen at minimum every 6 inches (15cm), so I use that guide for basting too. Keep in mind your overall quilting pattern so that you can minimise the number of pins you need to dodge.

But if you’re a total newbie to quilting I’m going to suggest a game changer…
Using spray glue:
Spray basting is essentially the quilters version of using washable glue to hold everything in place for you. I LOVE IT! Take your project outside or into a well-ventilated area that’s flat and work in sections. (It’s essentially the same process as covering schoolbooks with contact but easier!)
Once you’ve done one side, flip it over and repeat with the backing fabric.
(I get my spray glue from Spotlight, but any quilting store should sell it)

Once you’ve marked out your design on the fabric (using a chalk pen, soap bar, fading pen, or other method of choice) you need to fit it under your sewing machine! The secret here is to roll your quilt so it can fit under the arm of your machine. Remember to start quilting from the middle of your piece so that you can keep smoothing out the layers as needed.

Once you’ve quilted your fabric and cut it to the right size for your pattern piece, run a basting stitch inside the seam allowance all the way around to hold the edges together when you assemble your garment.

Now you’re ready to follow your pattern to quilted-jacket awesomeness!
What follows are two bonus tips for binding the seams on your jacket with bias tape.
The bulk of all those layers can be frustrating to manipulate so here are my top two tips for quilt binding that never fail me.
Binding tip 1#. Compress the seams before you bind them
I usually use an overlocker, but the same effect can be accomplished by using zig zag on the edges of the seam.

Binding tip 2#. Use single fold bias binding


You’re all set! Practice with some swatches and find your groove!
----------
If you've found this blog post helpful, why not share it with your sewing friends?
Happy sewing,
Maaike

