

Hi, my name is Emma Prestidge. I’m a sewist from Wellington New Zealand. I’m glad to be guest blogging today here at Maaidesign. You can see more of my makes over on my website emmasatelierblog.com or on Instagram @emmas_atelier. I work a 9-5 in a corporate role. The rest of my time is spent whipping up unique garments for myself and my husband.
For my contribution to the Maaidesign blog, I decided to work with Ponte.
I purchased the Sirocco Jumpsuit pattern by Deer and Doe a couple of days after they released their recent collection. I have a rule that I only buy a new pattern if I’m going to make a garment from it immediately. Deer and Doe patterns are drafted with someone with my body shape – 165cm - and bust size – C - I thought it would be a good purchase.
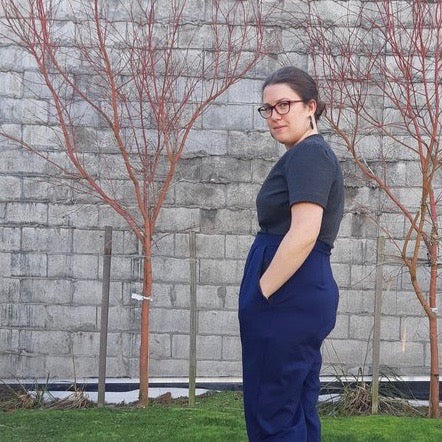
I made my first version (pictured above) of this jumpsuit for a recent European holiday. It was a fantastic garment in my capsule travel wardrobe - It’s so comfortable and stylish! I was worried that a tiny aeroplane toilet might be an issue, but the garment can be slipped on and off easily. It could be a good pattern to consider if you are breastfeeding.

This pattern is designed to be made in a knit fabric and has no closures. You simply pull it on and off. The Ponte fabric used to make the garment gifted above from Maaike.

I’ve been trying to use fewer prints in my wardrobe - instead, I’ve been making more garments in block colours and experimenting with colour blocking. Maaike stocks a great range of Ponte colours so this project seemed like the perfect project to try out a few different colours. I ended up choosing Navy and grey since both colours fit perfectly into my wardrobe.
I’m obsessed with the fit of my Pembroke dress which would be perfect in Ponte too.
I’m trying to reduce my waste impact as much as possible so always buy conservative amounts of fabric. For the bottom half, I ordered 1.2 meters of navy Ponte and 1 meter for the top. I made a size 40 – I sized down from my earlier version as the pants were quite roomy.

I had just enough of the navy Ponte to cut out the pants and waistband. The top and pockets are cut out from the grey. It creates a cool effect where you can see a peep of grey when side-on. I sewed the whole garment on my Bernette 48 coverstitch and overlocker.

I made no changes to the pattern however I did change the construction order. I basically ignored the instructions. Instead, I used the notches as my guide. I sewed the top and pants separately, attaching the pants to the waistband and attaching the top to the waistband last. I machine basted in the top to check for coverage.

The pattern tells you to set the sleeves in the round - a technique I avoid where possible! Instead, I set the sleeves in flat before sewing up the side seams and arm seam in one fell swoop. I added woven stay tape to the shoulder seams which I do for all knit garments. I hang wet t-shirts on clothes hangers. It helps them dry faster and it makes putting laundry away a breeze. The stay tape or a thin strip of interfacing helps to prevent the shoulder seams from stretching out of shape.

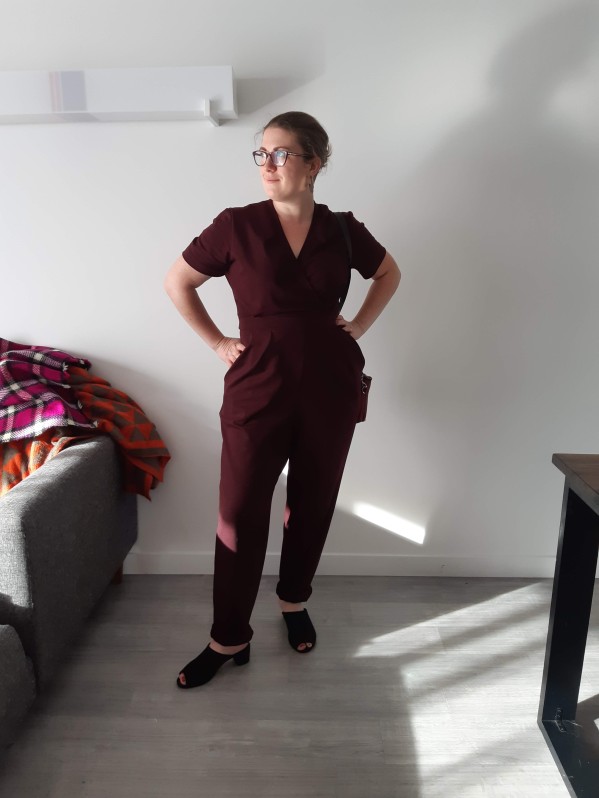
I love this pattern! It’s a comfy and modern jumpsuit which - in my opinion - is more stylish than sweatpants. I’m planning to use the bodice section of the pattern for the top of a dress or as a top with a wrap tie. I could also see this pattern made as separates if jumpsuits aren’t your thing.

I’m glad to add another version of this pattern to my wardrobe. I love having a few nice home outfits which act as secret pyjamas. It helps me feel less miserable about cold wet days.

I’m hoping this jumpsuit will match with my husband's new T-shirt. It’s a self-drafted pattern using a beautiful cotton jersey and rib-knit from Maaidesign.
I’d love you to visit me over at emmasatelierblog.com or on Instagram @emmas_atelier.
Thanks for reading and thanks Maaike for the beautiful fabrics! Check the links in my post for more information.

