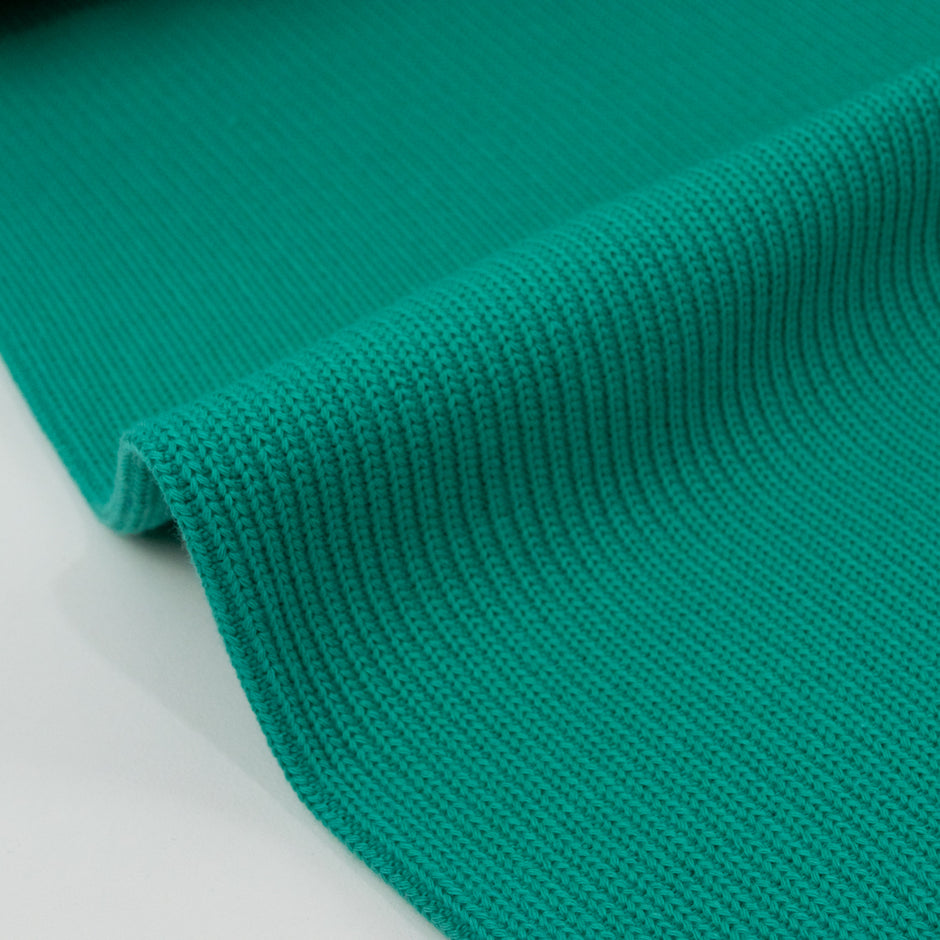


When Maaike brought out her stunning new double gauze range of fabrics, I was captivated with the idea of draping myself in this deliciously soft and squishy fabric!
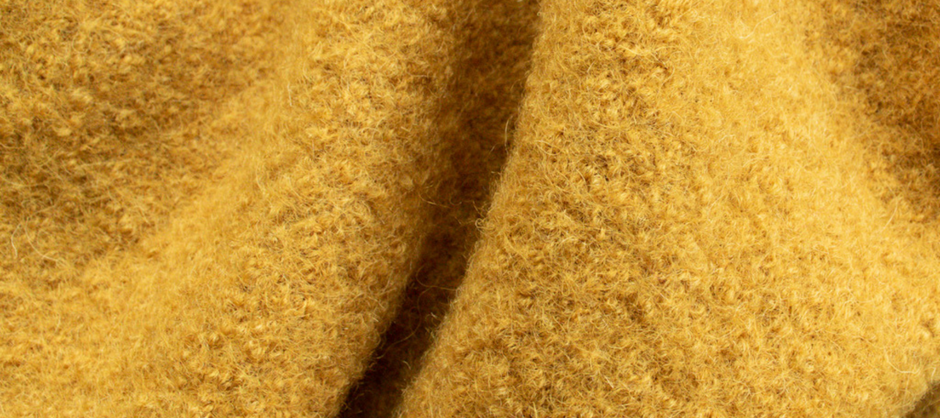
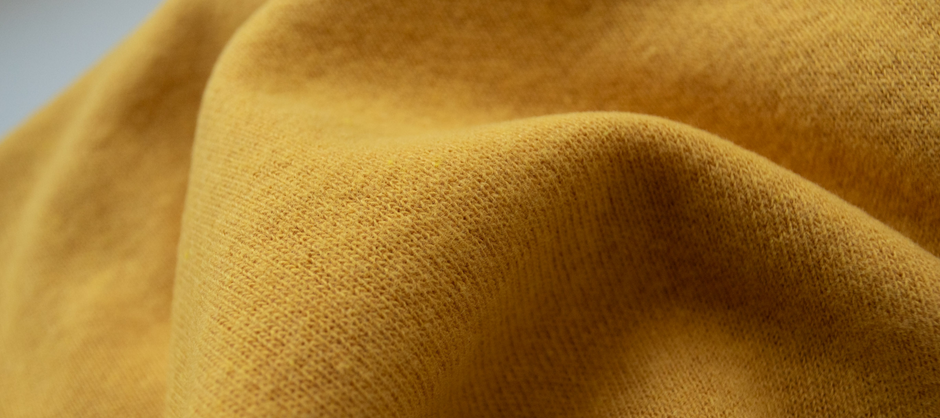
I have been working hard on curating a wardrobe of hand made love. I now have plenty of dresses and tops, but I recently realised that there is an activity that I engage in at least 8 hours every day and yet I haven't put any thought into my clothes - I need pyjamas!!! Instantly I knew that soft double gauze would make the summer pjs of my dreams. I ordered 3m of 'pear yellow' (which my brain keeps calling 'wasabi') and I love the result so much that I desperately want to waltz into my local coffee shop in my swanky matching set!
Don't worry my husband has already banned me from leaving the house in them, so I'll just have to swan around at home and pose every now and again.


If you've never sewn with this amazing substrate get ready to never go back. No ironing! Can I repeat that? No ironing necessary! Here are my top 5 tips to get you started on this beautiful fabric.
1. Pre-wash as you intend to continue washing it

First of all, when cotton 'shrinks' the gaps between the woven fibres get smaller. The more open the weave, the wider the gaps to start with, ergo the greater the 'shrinkage'. Skip this step and your finished garment will fit perfectly - until it's been through the first wash!
PS. I also put mine through the dryer for maximum shrinkage and wrinkles!
2. Choose a design that has minimal seam lines

Leave the princess seams, pleated seams and body con dresses for another time. The more simple the silhouette, the more the structure of this fabric will shine!

3. Cut your pieces out from a single layer of fabric

It only takes a moment more but the results are worth it!
The greater the number of layers to cut through, the greater the potential margin for error. Take the extra few minutes to trace off the other half of the pattern piece and lay out your fabric flat on your cutting surface. On the plus side, you actually save more fabric this way!
4. Don't cut pattern the notches
The open weave means that any snips into the cross weave threaten the integrity of the material in that area. It can easily distort the edge, making lining up the garment for sewing more difficult. Instead, use chalk or fade away/wash away markers. My favourite markers came from Daiso (Japanese ¥2 shop) and cost me $2.80 each!

5. Set your stitch length a little longer than usual (3mm)
The open weave really changes the way that the stitches look on the material. I usually sew with a 2.5 stitch length, but for this material I lengthened my stiches to 3mm and the extra space compensated for the dimples really well.
-----
Nice! You've got the basics covered. At this point you can launch into your project, or you can hang around to explore the other bits and bobs that I considered when making my pjs. Don't forget to show us your creations by tagging #maaidesign on social media!
Click on the topics that interest you to skip down to the information.
- pattern sizing and the crinkle factor of double gauze
- on pins and clips for holding seams
- ditching the interfacing
- reducing bulk in seams
- different options for finishing seams
- on singing the praises of the walking foot
- the best pattern marking transfer tip in the world
- what pattern I used and where I bought my supplies
Pattern sizes and the crinkle factor
I usually take the final garment measurements into consideration, but this time I paid particular attention to the final size allowing for the extra fabric hidden in the squishy folds. Especially in the bust I was on the borderline for sizes - which would usually mean that I size up but because the dimples have a little natural stretch and bounce I actually sized down for this shirt.
Use extra long pins and wonder clips

Here's why. Can you see the normal dress makers pins? Maybe. But one sneaky one weaselled its way into the gauze, made it through the machine, and then bit me when I was least expecting it!! Big coloured heads make them easier to find and longer length accommodates for the dimples. MaaiDesign has some excellent length quilting pins available.

Wonder clips are even better! Unlike the pins (which can move about within the large gaps of the open weave) wonder clips stay put. These are my go-to for seams with double gauze.
I ditched the interfacing (and the top stitching too)
Interfacing is designed to give added strength to a self fabric used as a facing etc. in a garment. When you use the double gauze as the facing fabric you already have 4 layers of stability. I found that I didn't need it at all, but if you're sure you do, or you have button holes to sew, keep these things in mind...
- don't use iron on stabiliser if you want crinkles (it will flatten out your dimples and make them stiff).
- choose an interfacing designed for knit materials so it has some natural give to move with the fabric.
Grade the seams unevenly
You have 4 layers of fabric (in some cases 6) all finishing at exactly the same point. When you roll that seam to the inside you have a very visible ridge. Avoid the lump and graduate the layers whilst cutting, so that there is a nice step down effect that reduces bulk at the seam.

Different options for seam finishes
I knew I needed a seam finish that wasn't overly bulky, so I did something unusual (for me!) and trialled a few to see how they looked. Which finish do you like best?


Forgive the wobbly stitching, it should be 'in the ditch'- it's been a long week.
Ode to the walking foot (may we sing your praises!)

My newer machine has an inbuilt walking foot (the black wiggly part behind the metal foot) and I bought a walking foot attachment for my grandmother's Bernina.
Why use a walking foot? Because the feed dogs (wiggly metal teeth) push the bottom layer of fabric through but a normal sewing foot just lets the top layer glide along. With two thin layers that's ok, but when you have 4 layers with lots of puffy loft, the difference is huge! The top and bottom layers are moving through the machine at different rates and you end up with the top side longer than the bottom.
A walking foot feeds the top layer through at the same rate as the feed dogs on the bottom layer so that your seams line up at the top and at the bottom.
Transferring markings using holes
Somewhere along the way, I also picked up this handy trick for fabric markings in the centre of a pattern, which works brilliantly for marking up the 'mirror' pattern piece. Use an awl to punch holes over the markings to be transferred to the material. Then you can perfectly mark your fabric without having to keep lifting and checking your placement!

My awl is actually from a scrapbooking kit that sets grommets in paper.
What I made


Pattern: Bombazine Shirt & TAL pyjamas *FREE* pattern
Buttons: Liberty fabric covered 18mm from L'ucello
Labels: "Sewing is sexy" Kylie and the Machine from MaaiDesign
Binding: self made from scraps of previous projects.