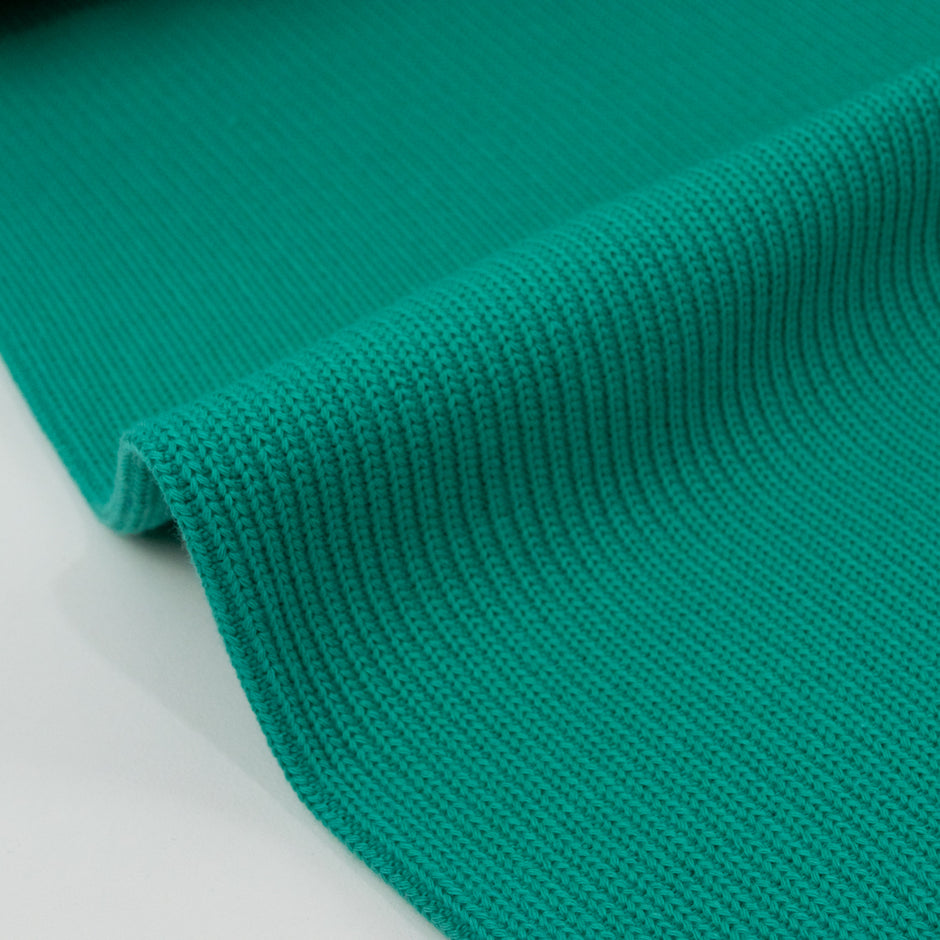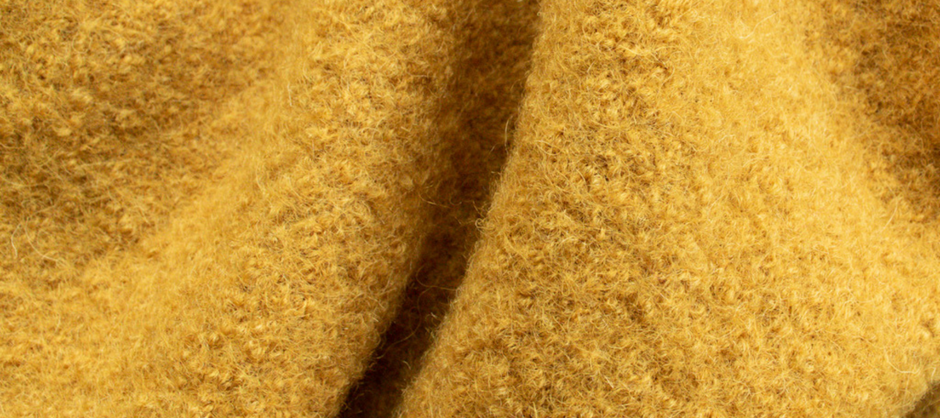
Several years ago - before my sewing addiction- I bought my mother-in-law a tote for Christmas, made out of laminated fabric. She loved it and used it on her regular trips to the pool. But now the bag it is starting to fall apart and she hinted she could use a new one.
So, this time, I made her a tote, rather than buy one. It was the perfect project to try out the new laminated cotton that has just arrived, and I love the fact that I will be giving here something hand made. For the record, I do get along really well with my mother-in-law so I did really want this bag to look great! (And I just asked her to stop reading this blog until next year;)
The bag design is largely based on this free tutorial from Noodlehead, but I did not add the side pocket, I opted for an internal zip pocket instead. I am a big fan of her bags, she has a really nice contemporary style. I was also inspired by her to use jeans on the bottom of the bag, combined with a colourful fabric at the top. She has some great patterns for a range of stunning bags!
So here are the details of the bag that I made, and the steps I took. In my enthusiasm to finish it before another family deadline, I forgot to photograph a few steps. But I still hope that this explanation is useful.

I used the following materials:
1) Bag exterior:
- 2 bottom pieces: 17" (42.5cm) wide by 11.5" (29cm) tall (I used non-stretch jeans)
- 2 top pieces: 17" (42.5cm ) wide by 6" (15cm) tall
- 2 pieces of iron-on interfacing: 16" (40cm) wide by 15.5" (39 cm) tall, I used Vilene Volume Fleece H630
2) Interior: 2 pieces of laminated cotton: 17" (42.5cm) wide by 16,5" (41.5cm) wide
3) Straps:
- 2 pieces of jeans: 4" (10cm) by 24"(60cm) - or use width of 6" (15cm) if you prefer a wider strap.
- 2 pieces of iron-on interfacing: 4" (10xm) x 24" (60cm) (I used Vilene G700)
Alternatively, you could use 2 pieces of webbing, each 24" (60cm) long.
4) Pocket
- lining: 2 pieces of 14" (35cm) by 12" (30cm)
- Iron on interfacing: 1 piece of 14" (35cm) by 12" (30cm) (I used Vilene G700)
5) One 30cm zipper
6) Fusible double sided interfacing tape
STEPS:
Seam allowance used: 1/2 inch
RST = right side together
1. Make the straps:
Fuse the interfacing to the wrong side of the fabric. Press the fabric in half lengthwise. Open and fold the raw edges in towards the fold line you just created and press. Then fold in half again and press. Top stitch along both long edges. Repeat for the second strap.
2. Create the exterior pieces:
Create the bag exterior by placing 1 top piece and 1 bottom piece RST and stitch. Press the seam open. Repeat for the other side. If you used a 1/2 inch seam allowance you should end up with 2 assembled exterior pieces measuring 17" (42.5cm) wide by 16,5" (41.5cm) wide, the same size as the interior pieces.
Fuse the fleece interfacing to each assembled exterior piece. The interfacing is about 1/2 shorter on each side to avoid bulk in the seams.


3. Make the zippered pocket:
Fuse interfacing to 1 pocket lining piece.
Place this lining piece RST with 1 interior piece. Align it so the top edges meet, and the pocket lining piece is centred.
Draw a rectangle with a water soluble pen, 1/2" high by 11" (27.5cm) wide, and positioned 3" (7.5cm) from the top.
Stitch a rectangle on this line.
Cut through the middle of this rectangle and into the corners, making sure not to clip the stitching.
Pull the pocket lining through the opening and press it against the back (fabric side) of the interior piece.


Use fusible double sided tape to attach the zipper to the back of the opening (on the pocket lining). The tape will keep the zipper in place while you stop stitch around the opening to attach the zipper to the interior.
Place the second pocket lining piece RST with the other lining piece and stitch around the sides and bottom, therefore closing the pocket. Baste the top in place.
4. Assemble the bag:
Place the 2 interior pieces RST and stitch around the sides and bottom, however, keep an opening in the bottom of about 4" (10cm). Use clips to keep the two pieces together as pins will create holes in the laminate.

Put the assembled bag exterior pieces RST and stitch around the sides and the bottom.
Pinch the corners together, making sure the seams match top and bottom. I use a pin to check that they match. Draw a line at 2" (5cm)) from the tip, stitch on that line and trim the corner off, leaving a seam of about 1/2 inch or 1cm. Repeat for the interior piece.


- Pin the handles to the outside of the exterior, leave a gap of 5''(12.5cm) between the ends. Make sure the handles are not twisted. Baste in place.

- Keep the external bag right side out, but turn the interior bag inside out. Place the exterior inside the interior bag. The right sides should be facing. Stitch around the top of the bag, therefore connecting the exterior and the interior.
- Turn the bag to its final position by pulling the exterior through the opening in the interior bag.
- Close the opening in the interior by folding the ends in, and top stitch using a narrow seam allowance.
- Top stitch around the top of the tote, using a slightly longer stitch length.
Done!


